Hi everyone, I've been away for what feels like forever! School keeps me so incredibly busy it is difficult to get in a good quality blog post. I have remained active on Instagram though, so if you don't follow me on there you really should! It's @themakeupdiaryblog.
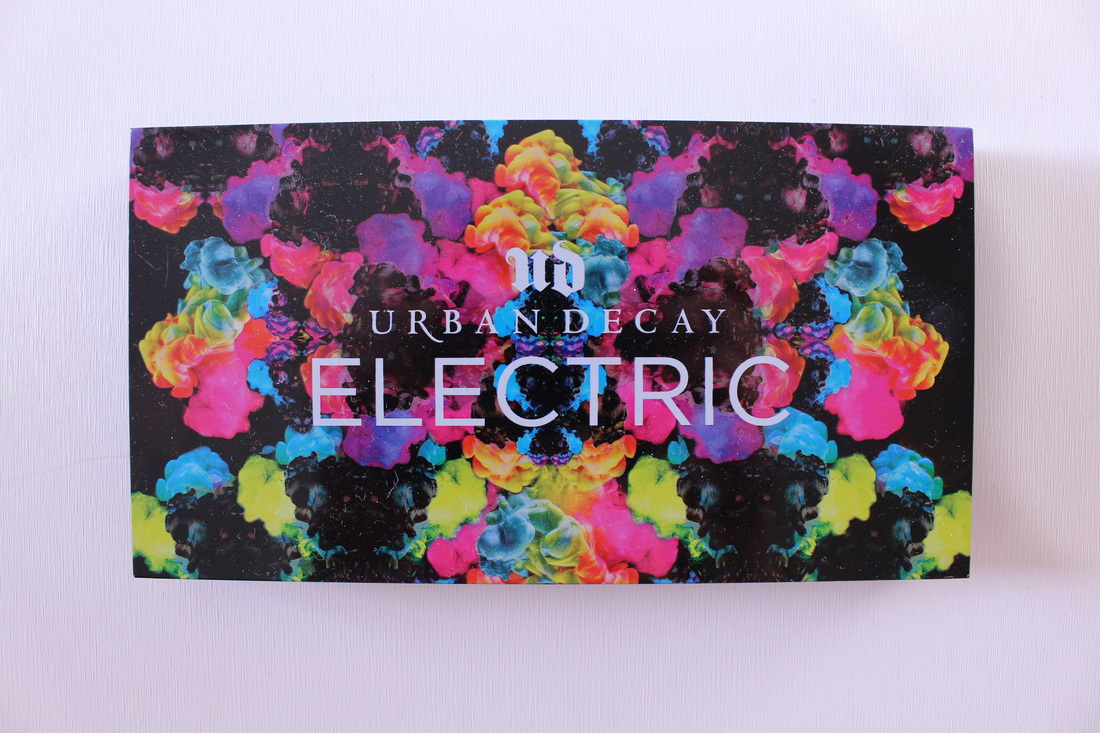
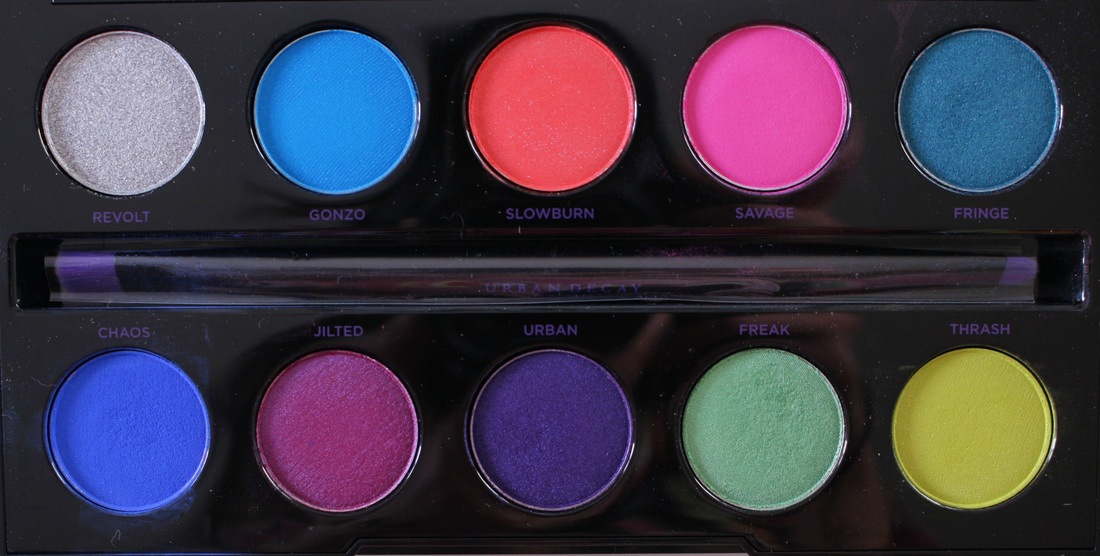
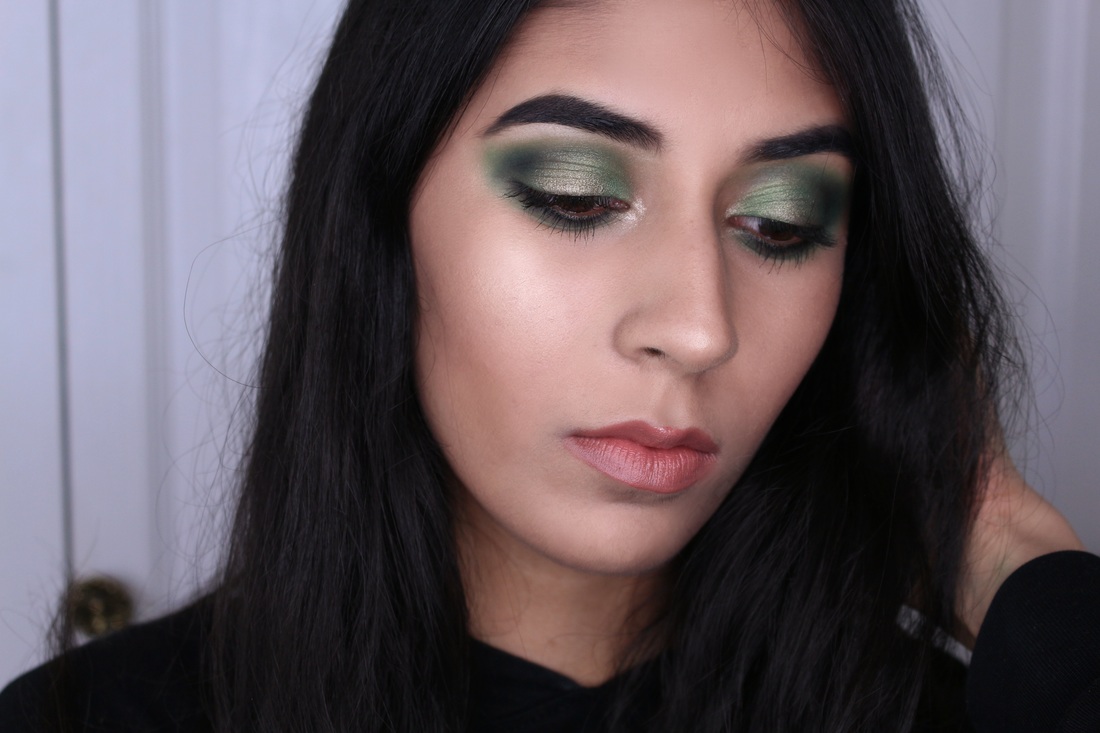
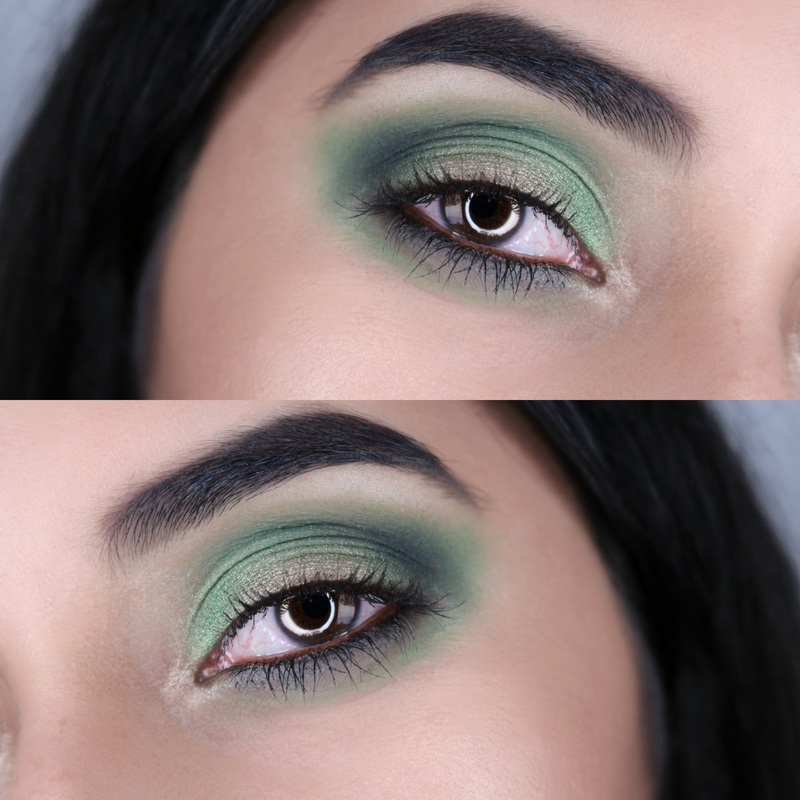
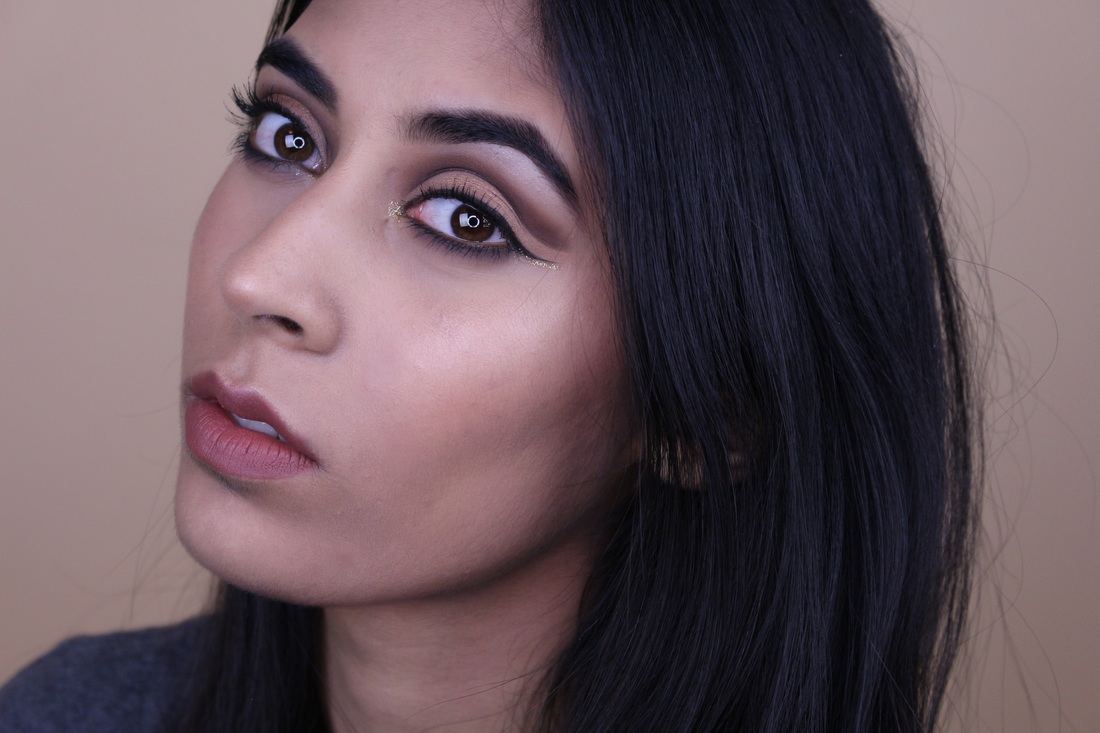
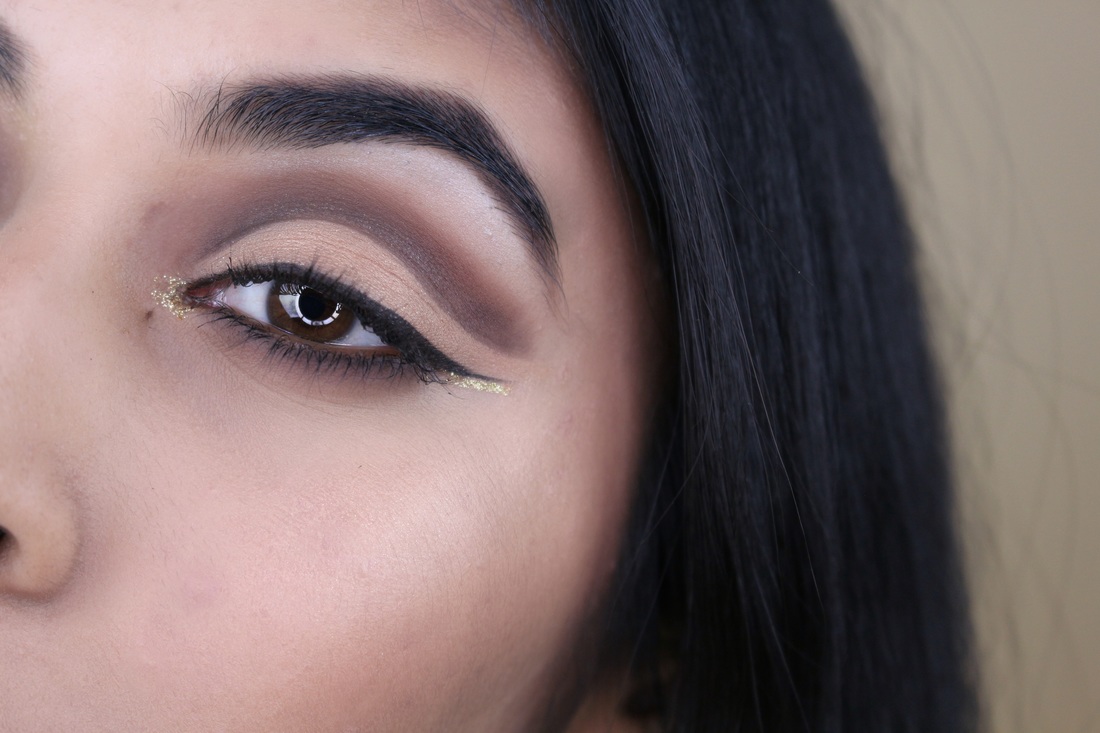
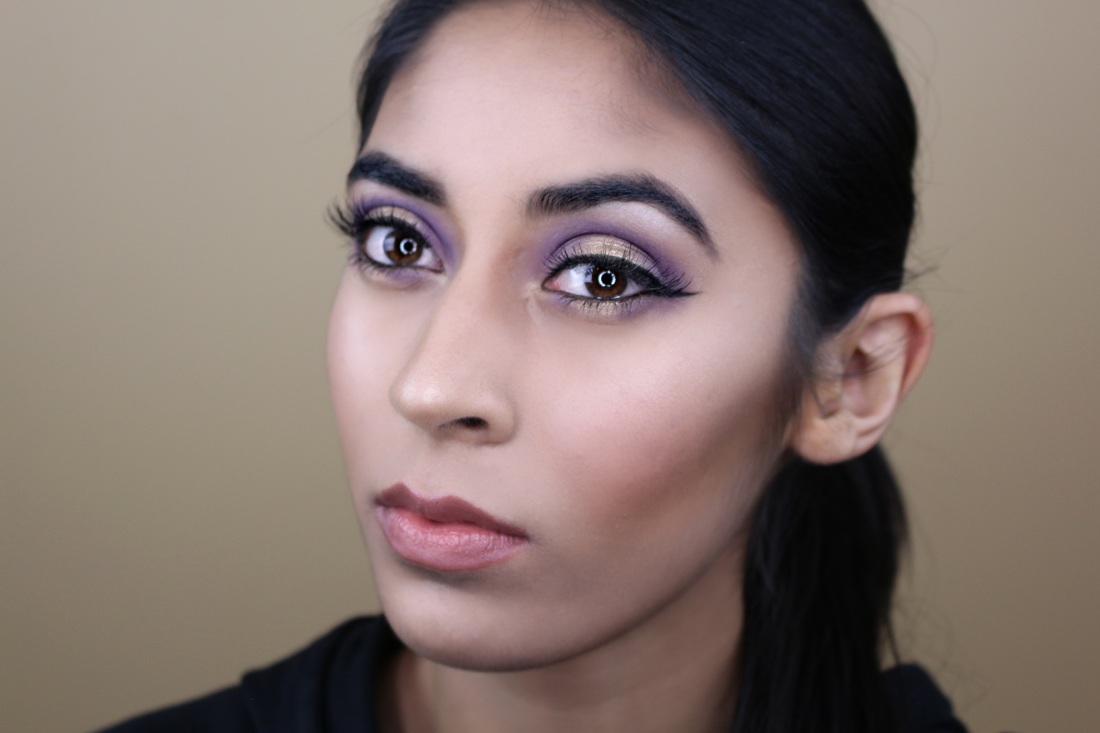
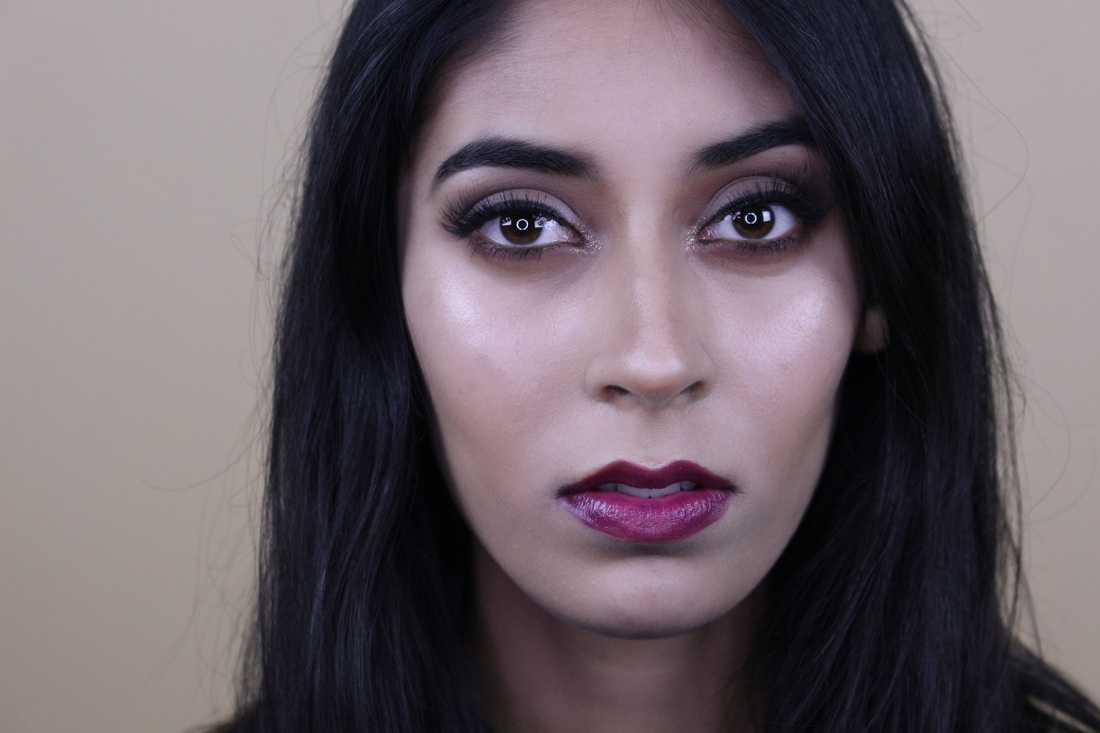
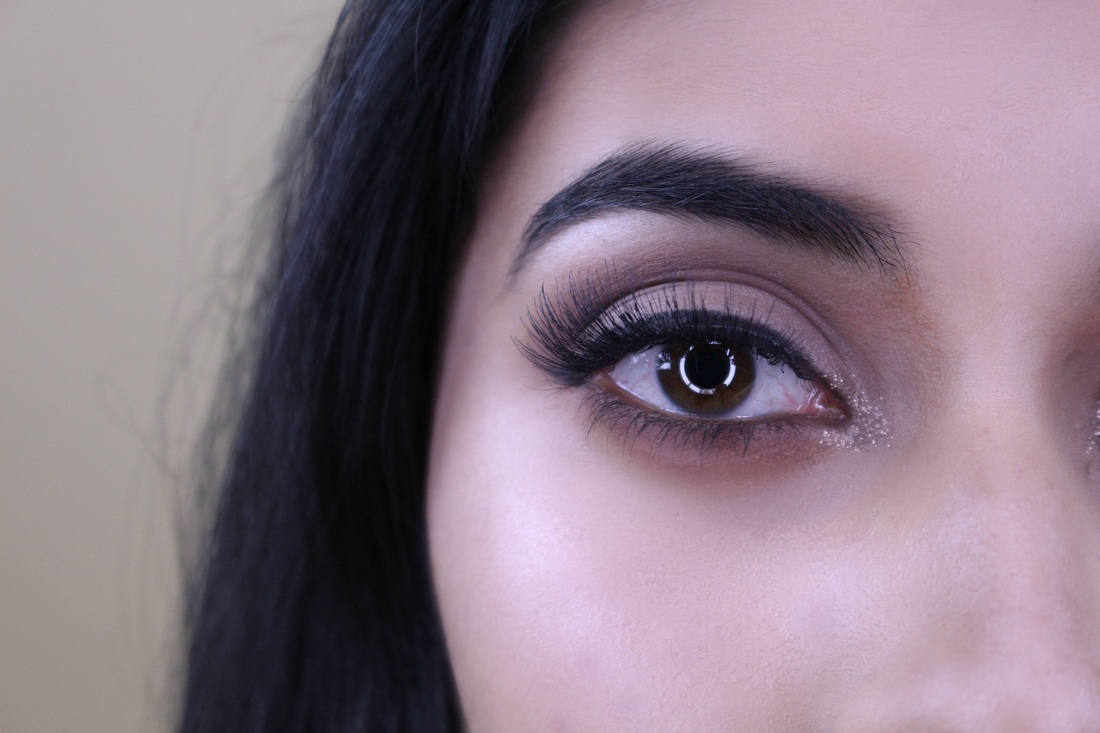
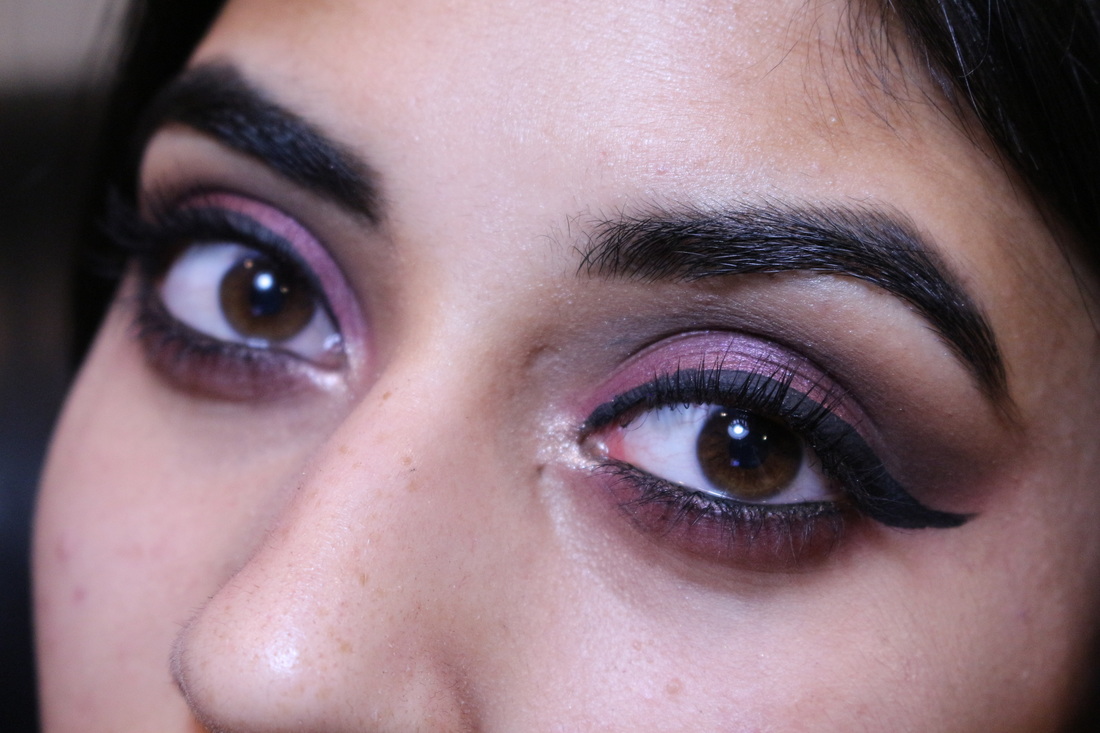
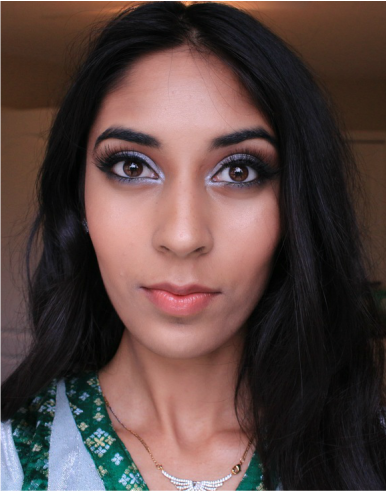
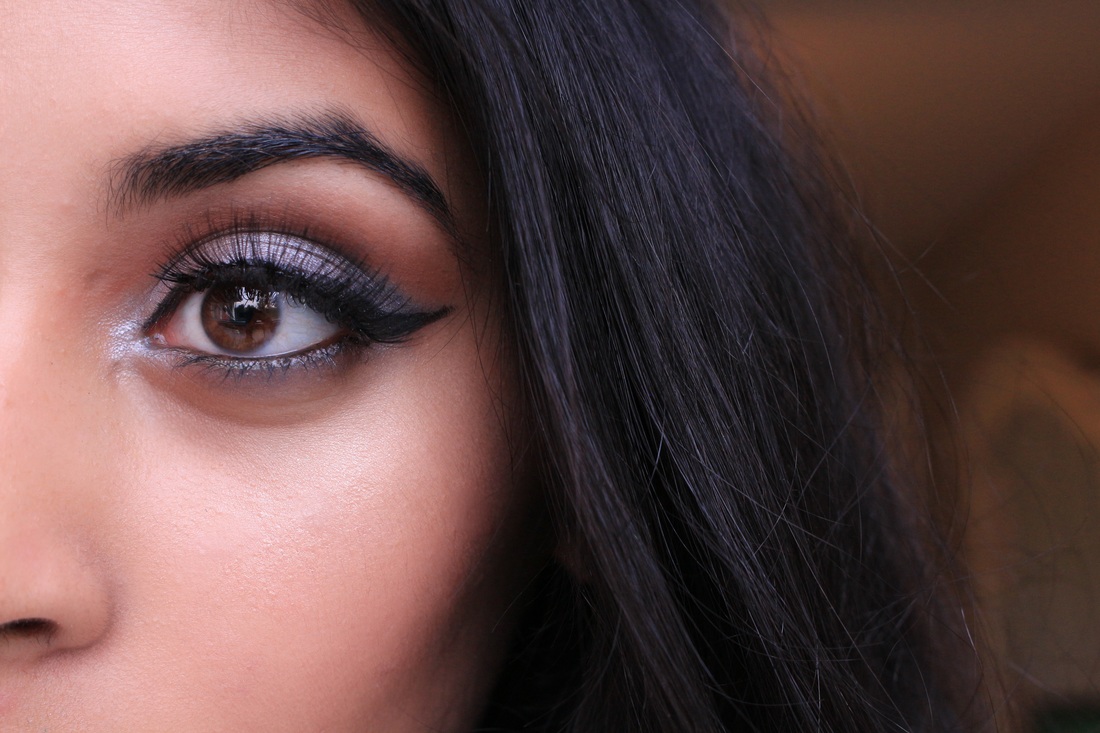
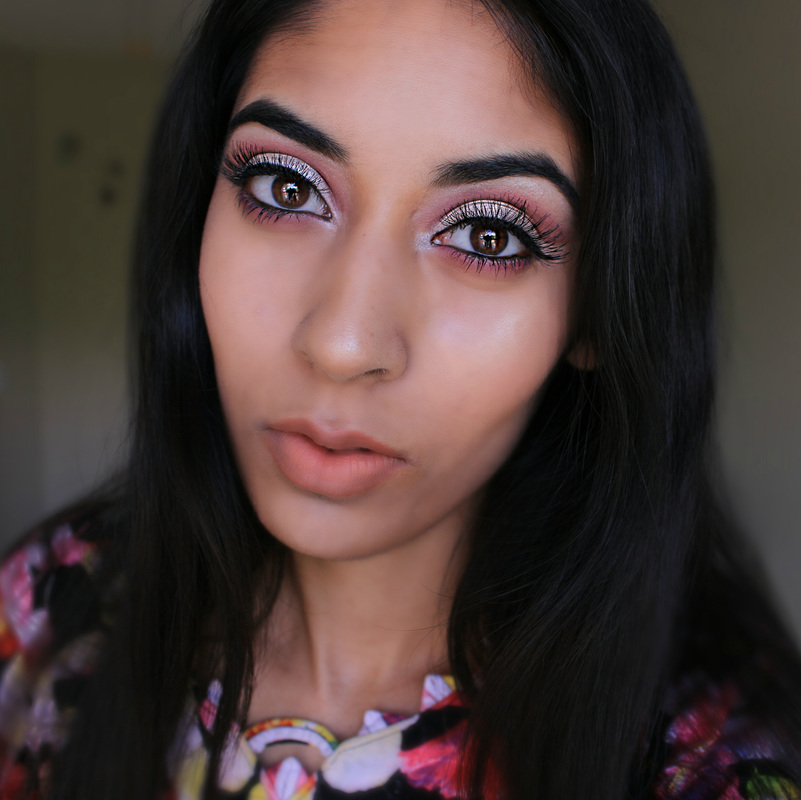
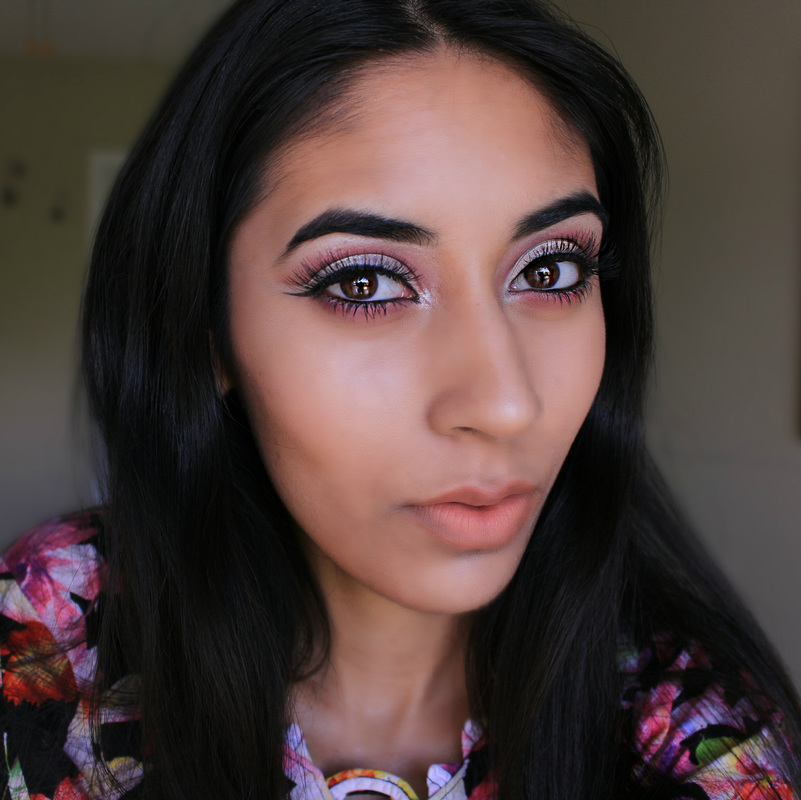
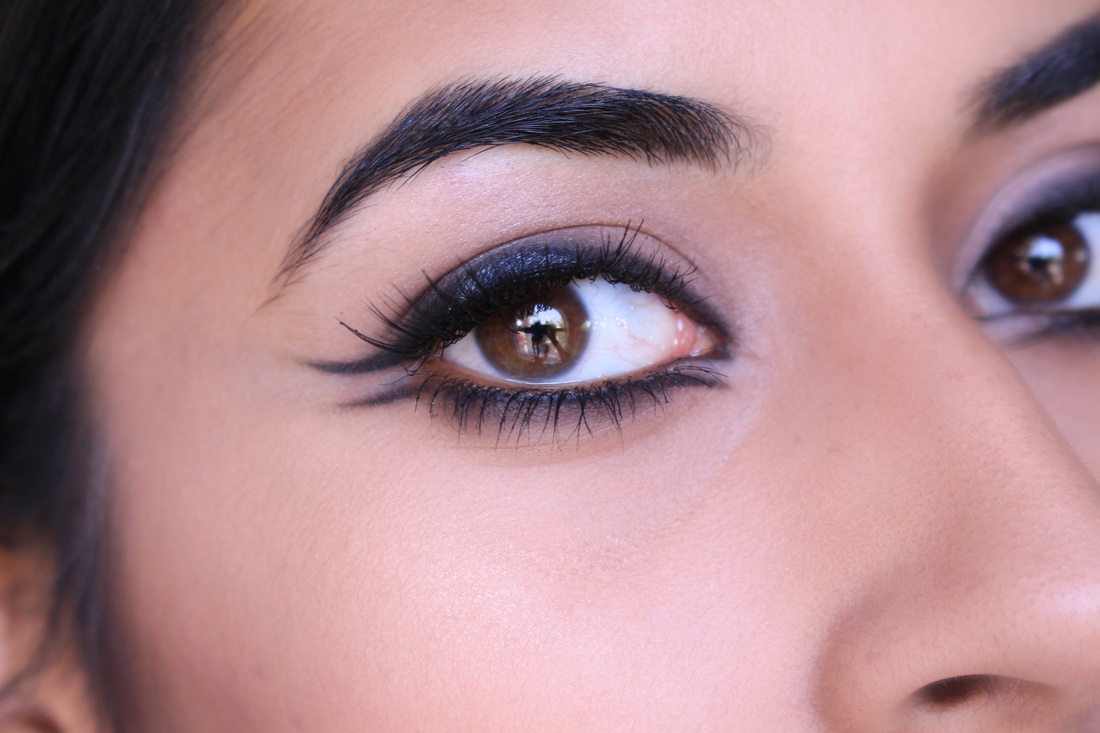
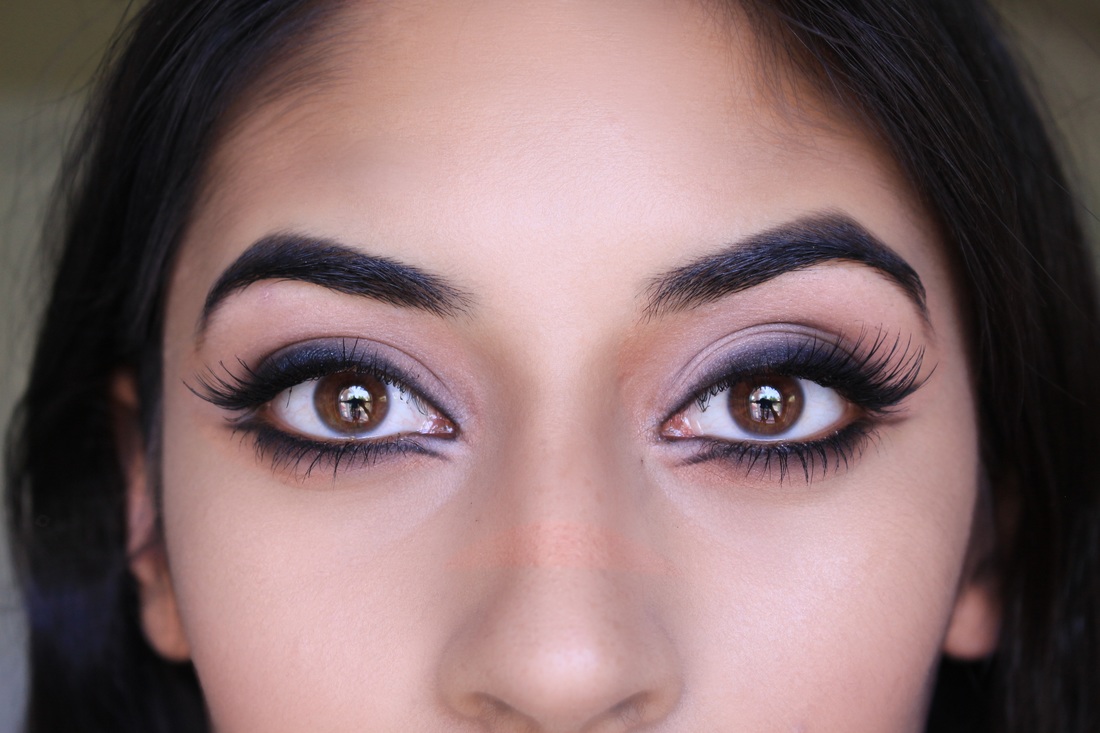
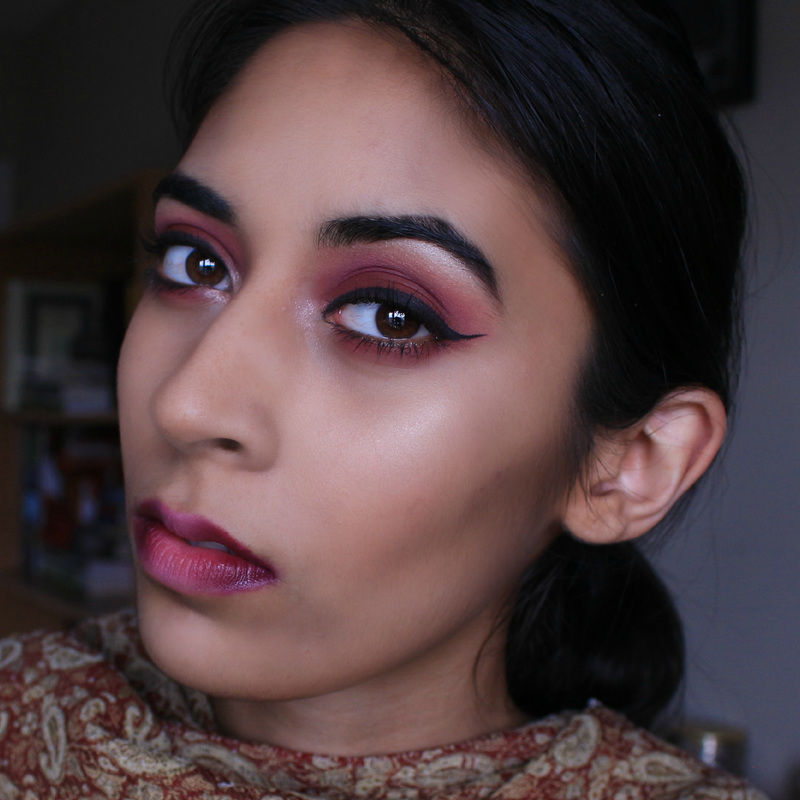
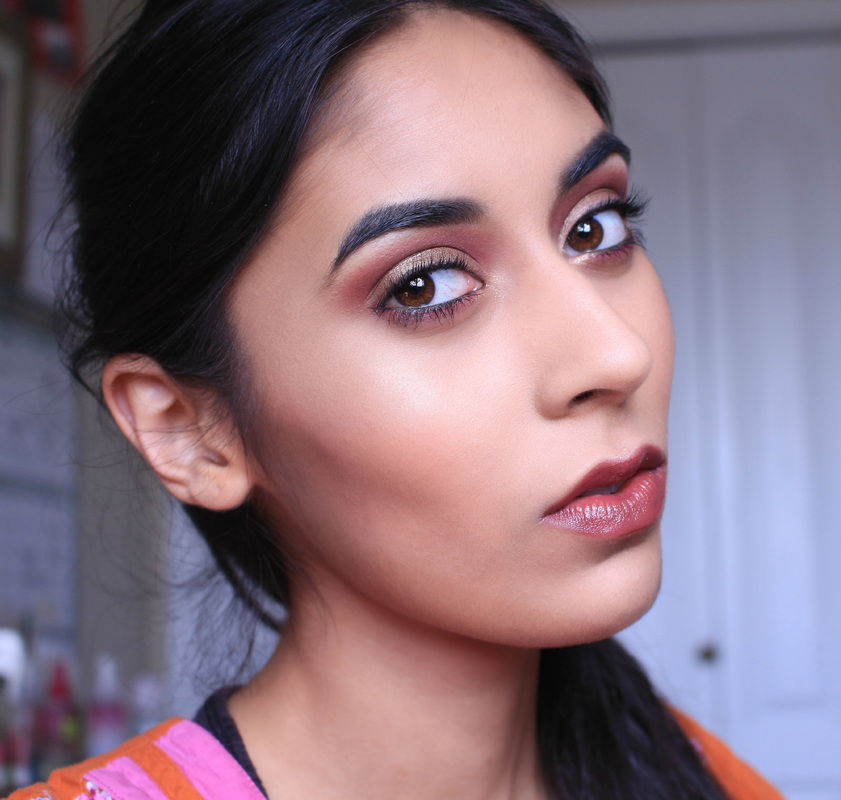
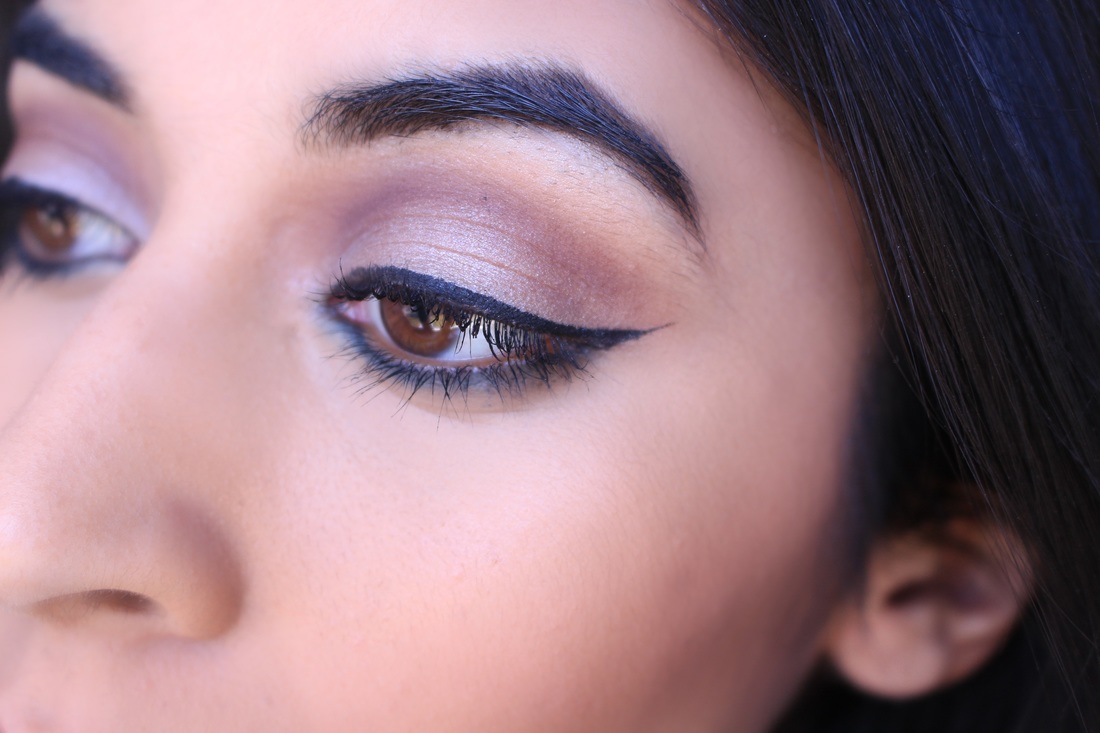
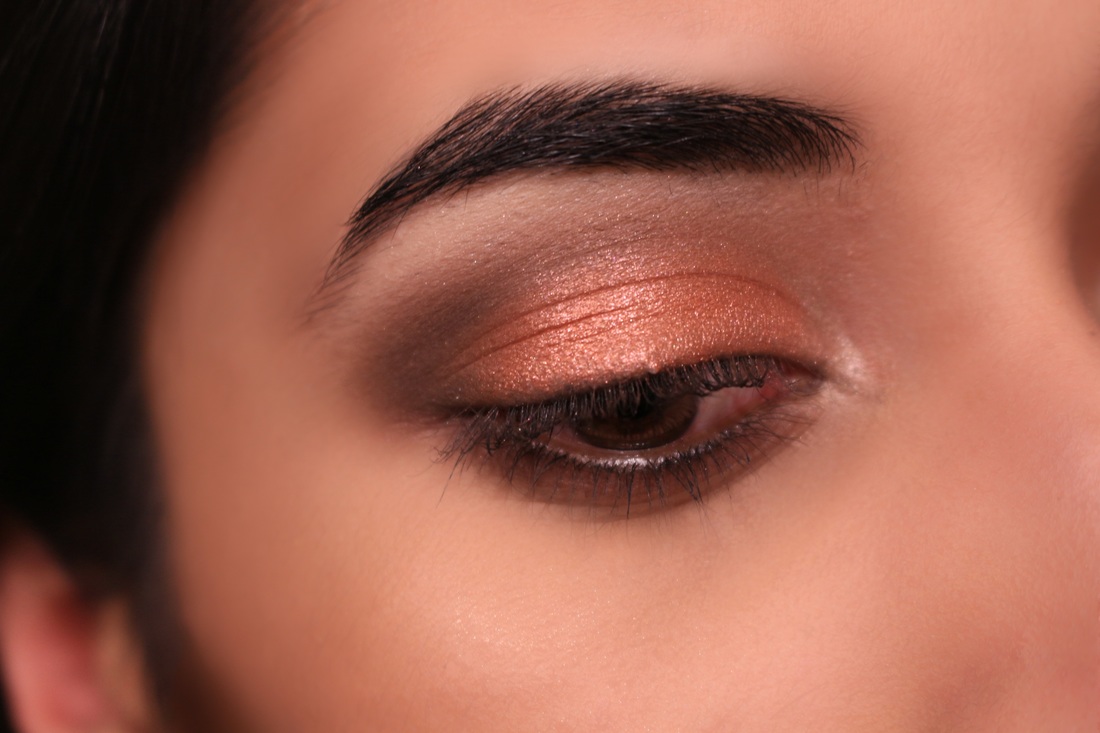
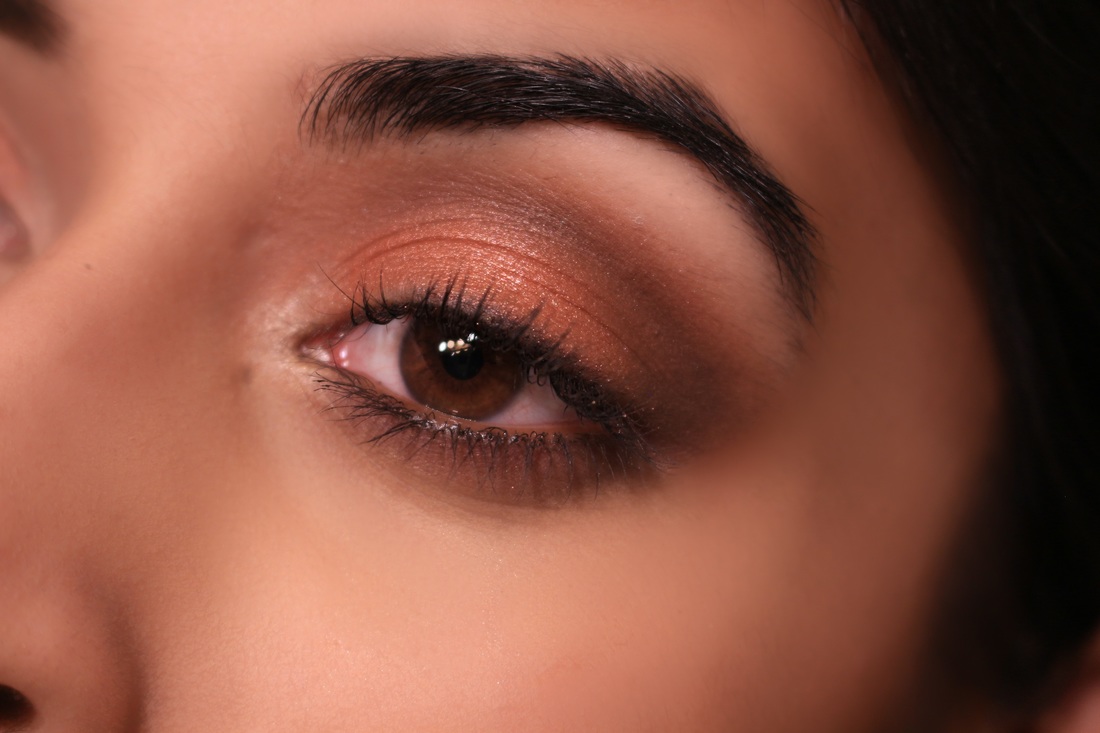
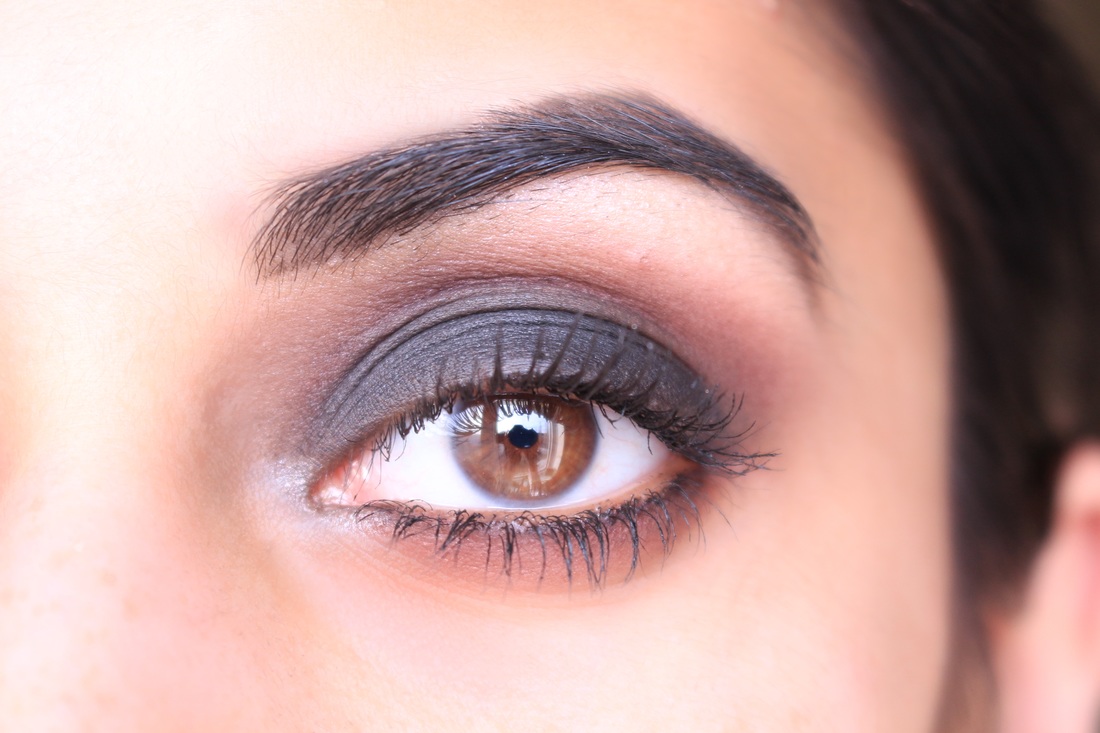
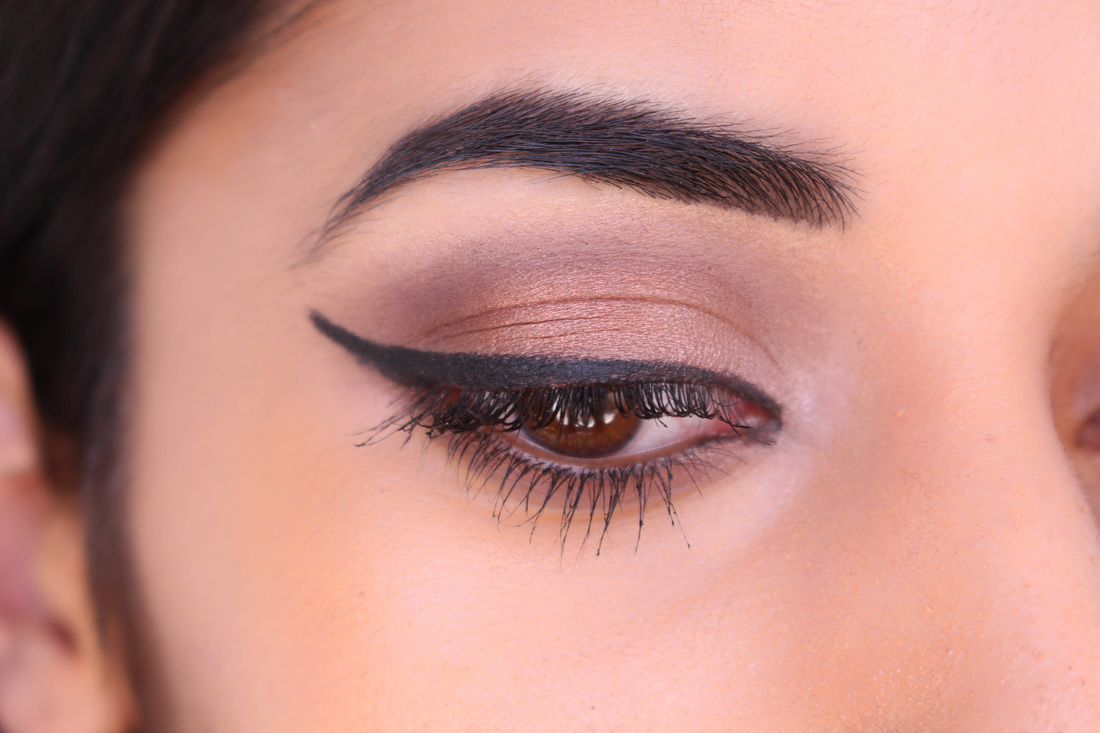
Onto the actual blog post! I received the Urban Decay Electric Palette as a destashing gift from my sister and I've wanted it for awhile but couldn't justify the price - it's $59 (CAD) and the colors are so vivid and bright I probably would only use them occasionally. I have to say though, it's a very good palette. It's very pigmented and most of the colors are matte. I personally find it very challenging to find very pigmented matte eyeshadows, so this palette is a jewel to me. I'll be going over the palette, my overall thoughts on it and then do some arm swatches and end by showing a few different looks you can do with this palette to give you some inspiration. If you could use some color in your life, you need to keep reading ☺
Onto the actual blog post! I received the Urban Decay Electric Palette as a destashing gift from my sister and I've wanted it for awhile but couldn't justify the price - it's $59 (CAD) and the colors are so vivid and bright I probably would only use them occasionally. I have to say though, it's a very good palette. It's very pigmented and most of the colors are matte. I personally find it very challenging to find very pigmented matte eyeshadows, so this palette is a jewel to me. I'll be going over the palette, my overall thoughts on it and then do some arm swatches and end by showing a few different looks you can do with this palette to give you some inspiration. If you could use some color in your life, you need to keep reading ☺