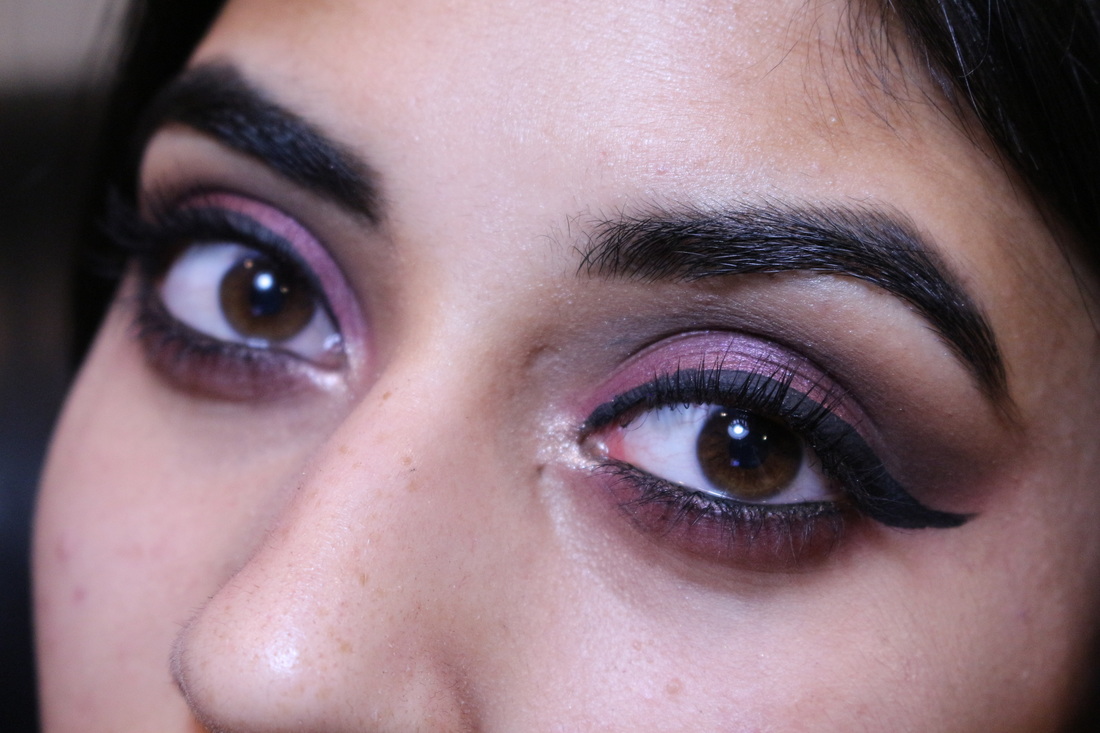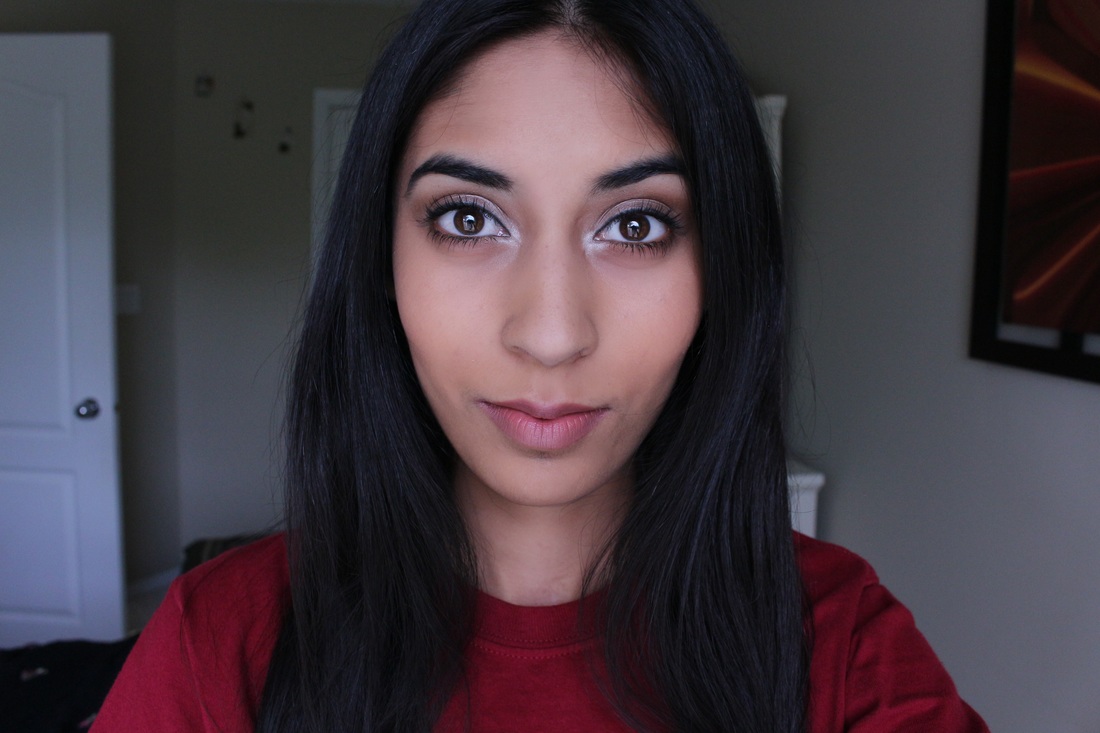
Although I don't like the colder days, I absolutely love the fall season for the fall colors. I don't just mean the changing color of the leaves (which is beautiful). I really wanted to do a fall eye look and because I love these looks so much I may do more! I hope you enjoy this ☺
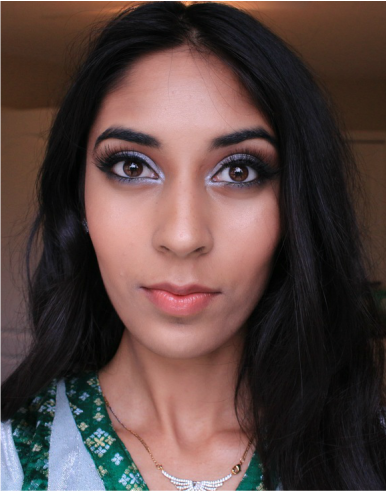
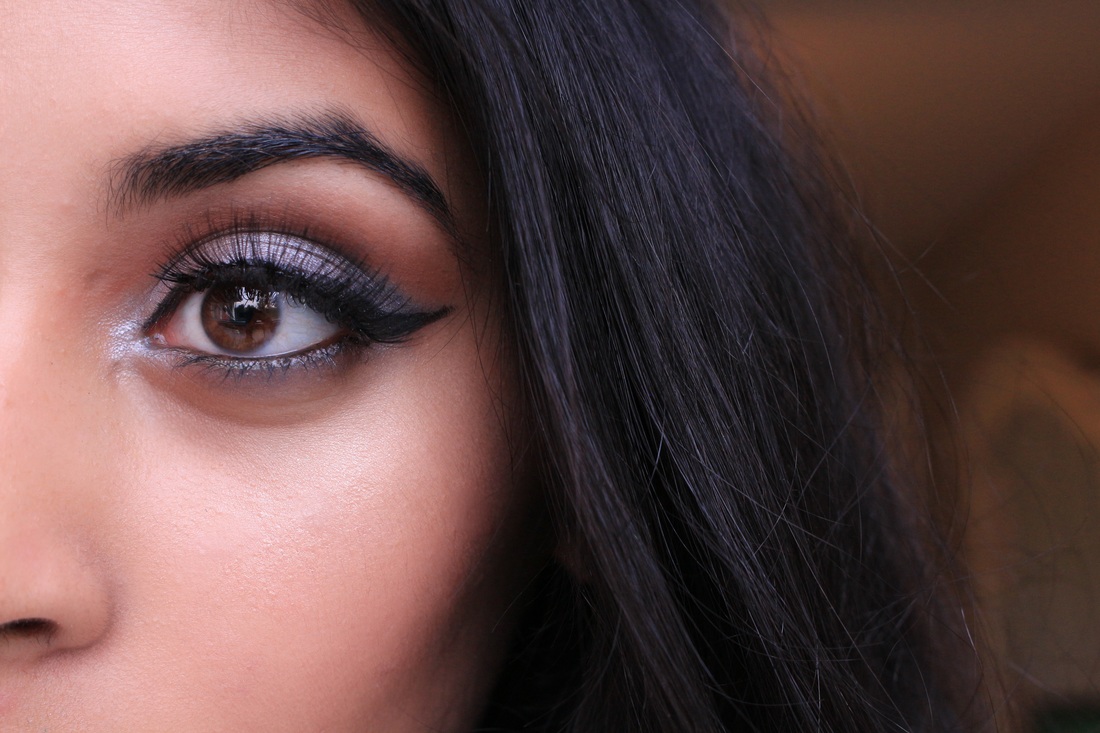
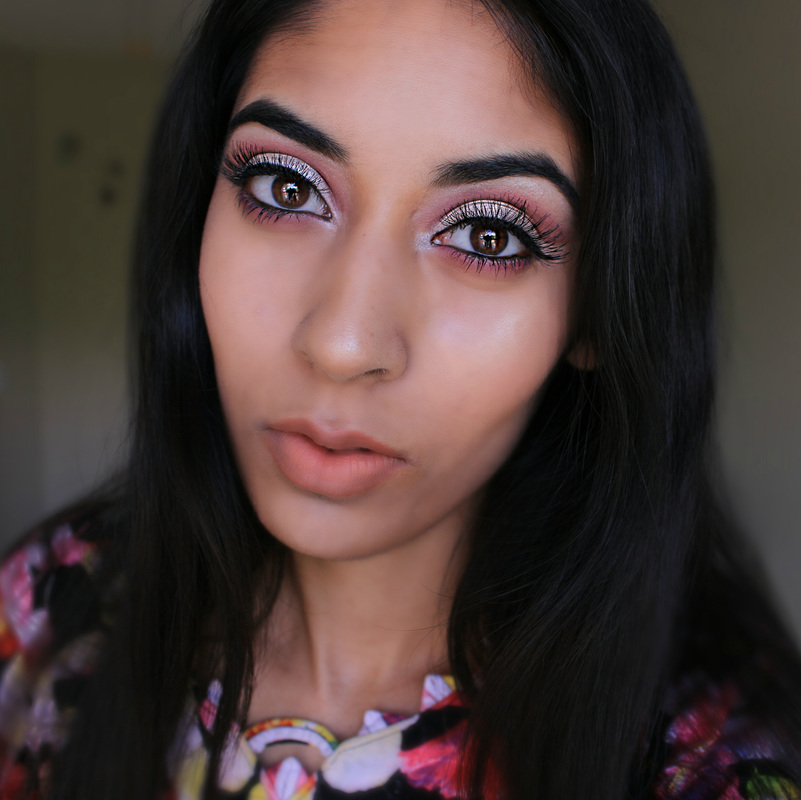
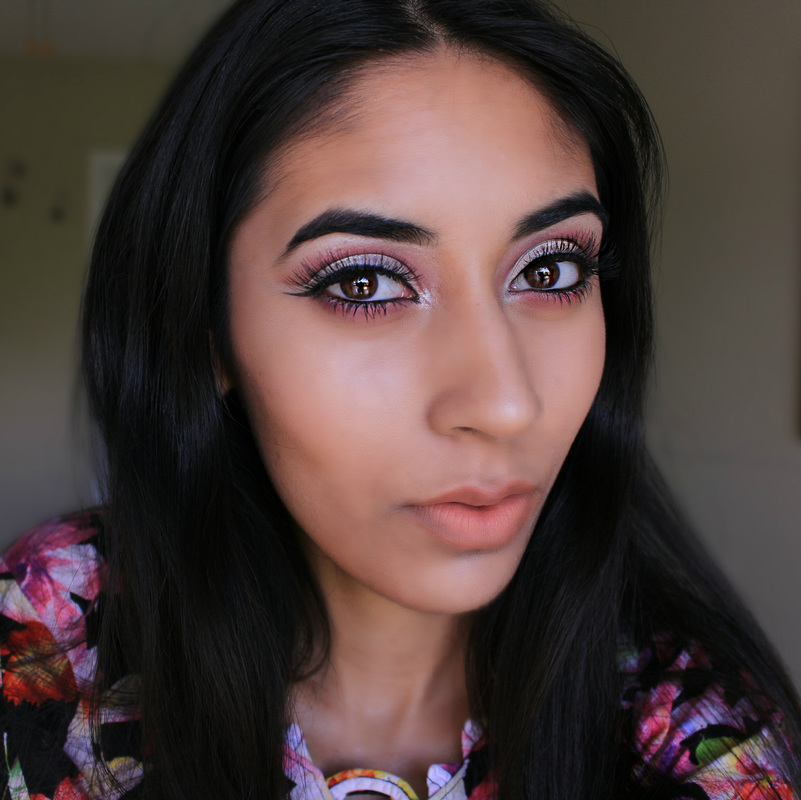
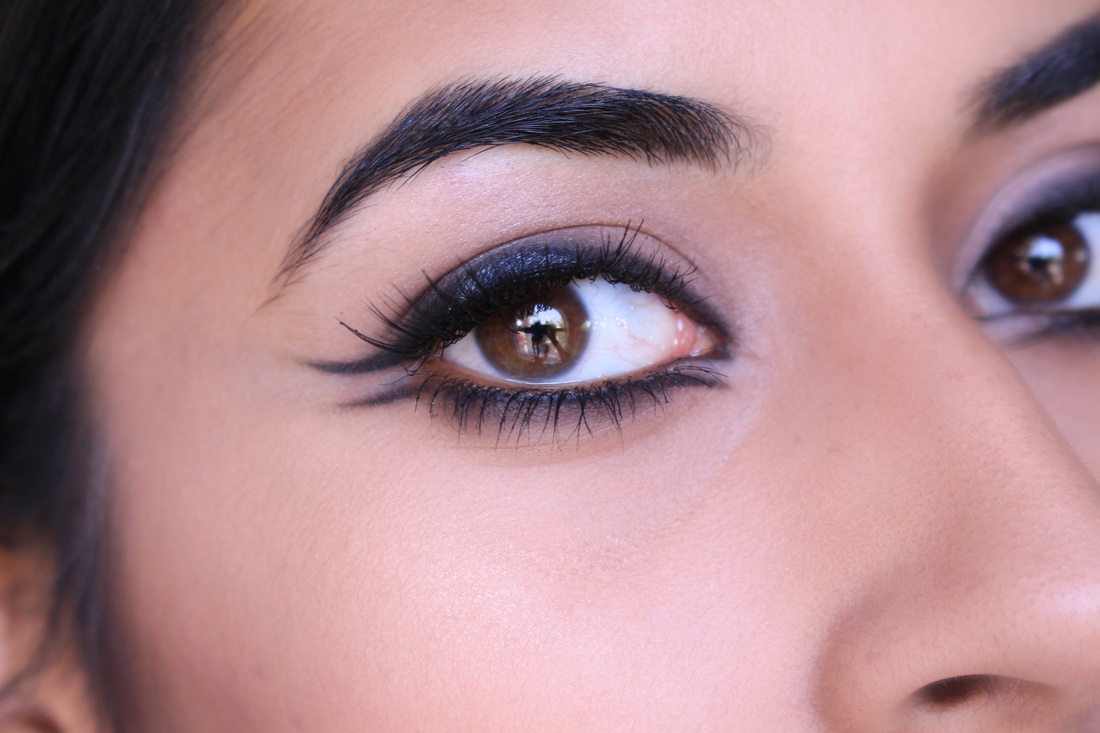
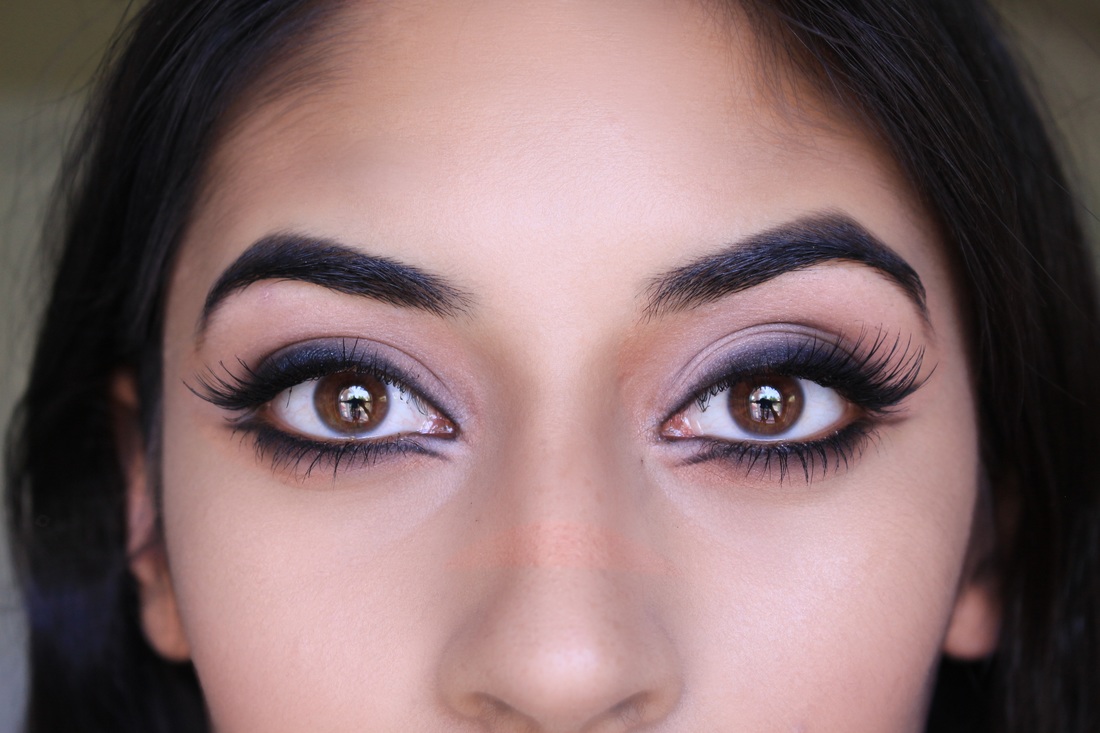
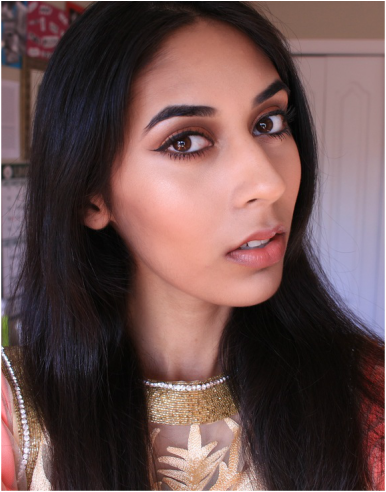
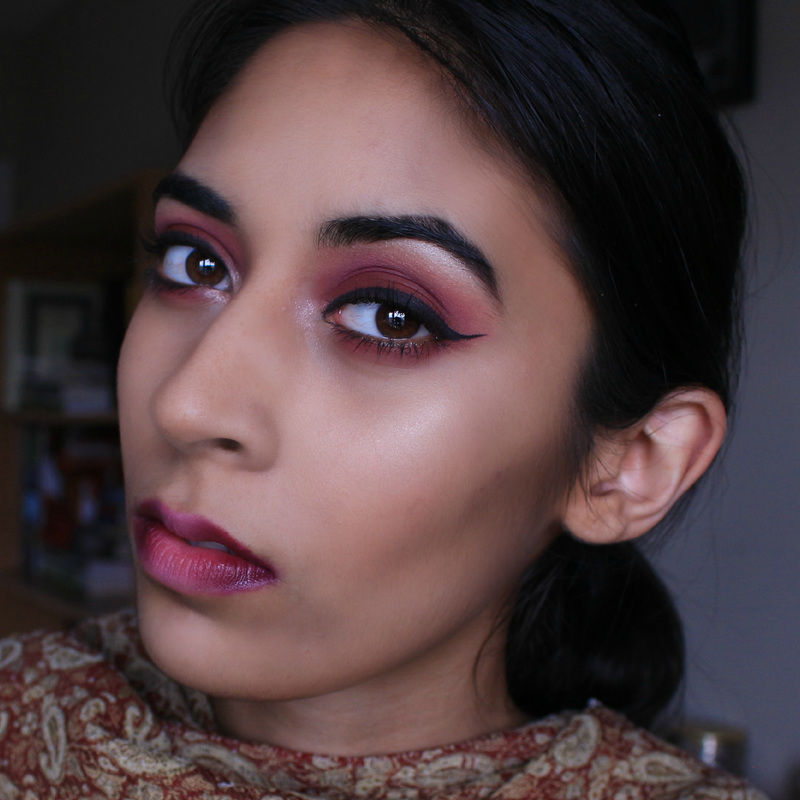
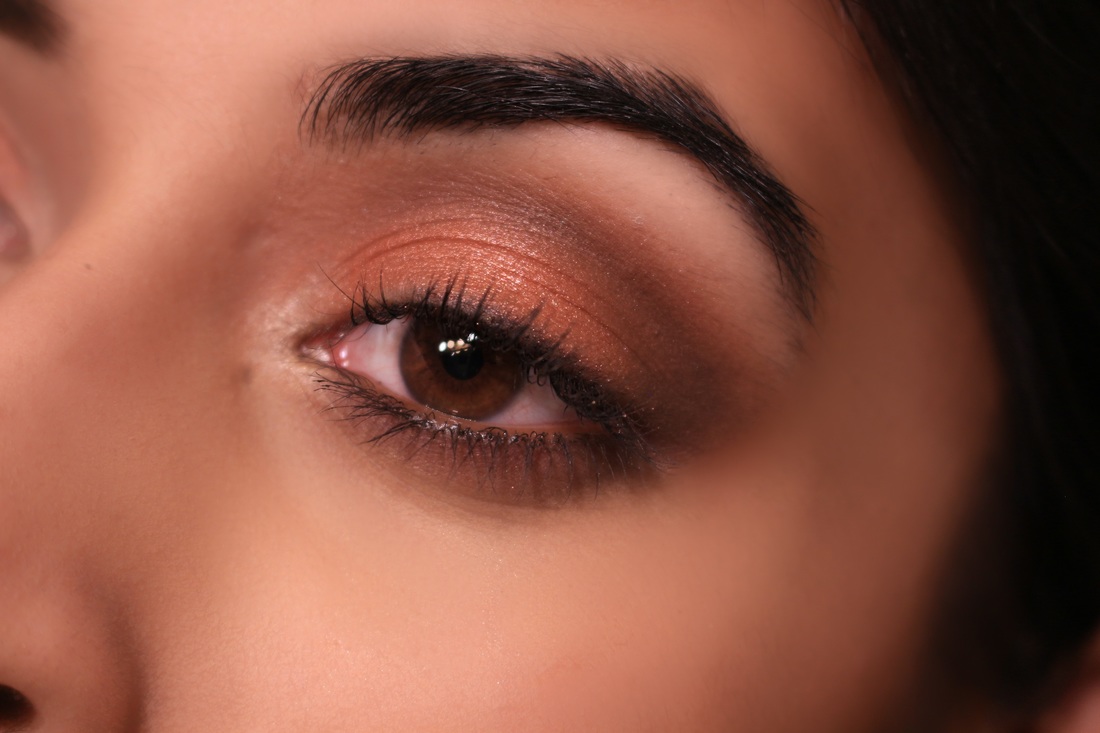
Here's the final look, so perfect for a night out! If you are interested in learning how I achieved this, keep reading.
Here's the final look, so perfect for a night out! If you are interested in learning how I achieved this, keep reading.